Nester Pod Quick Start Guide
Getting your Eggologic Nester pod ready for the birds is easy. Just follow this step-by-step guide and you’ll be helping your native birds in no time. Click on the “+” to open a content section.
Step 1: Remove Packaging
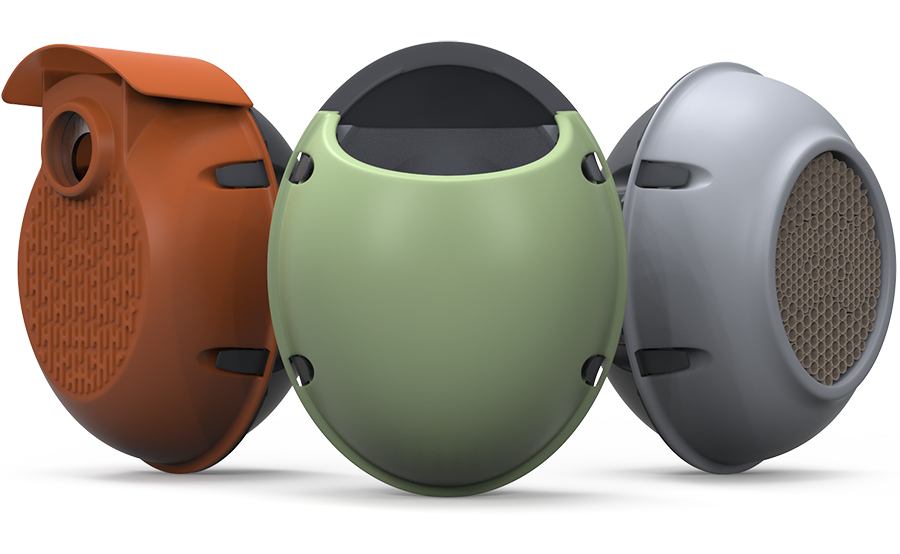
First remove your Nester pod from its 100% recyclable box or store packaging.
NOTE: A mounting screw for securing the pod to a wood surface is included on the packaging. Make sure to keep this for mounting.

Step 2: Remove Front Shell
Before mounting, the face shell and inside contents must first be removed. To remove the face shell, follow these simple steps:
-
Place your thumbs under the top two gray fastening tabs (as shown) and press gently outward to release the front shell.

-
With your index fingers, push the front shell forward to separate from the back shell.

-
Repeat steps A and B on the lower two fastening tabs to fully release and remove the front shell.


Step 3: Select & Install Entry Guard
Your Nester pod comes with 4 different entry guards, each with a different size opening (28mm / 32mm / 38mm / 43mm). Select the desired entry guard and secure it to the Nester Shell using the provided screws.

IMPORTANT: Make sure the entry guard's offset opening is oriented DOWN as shown in the below illustration.

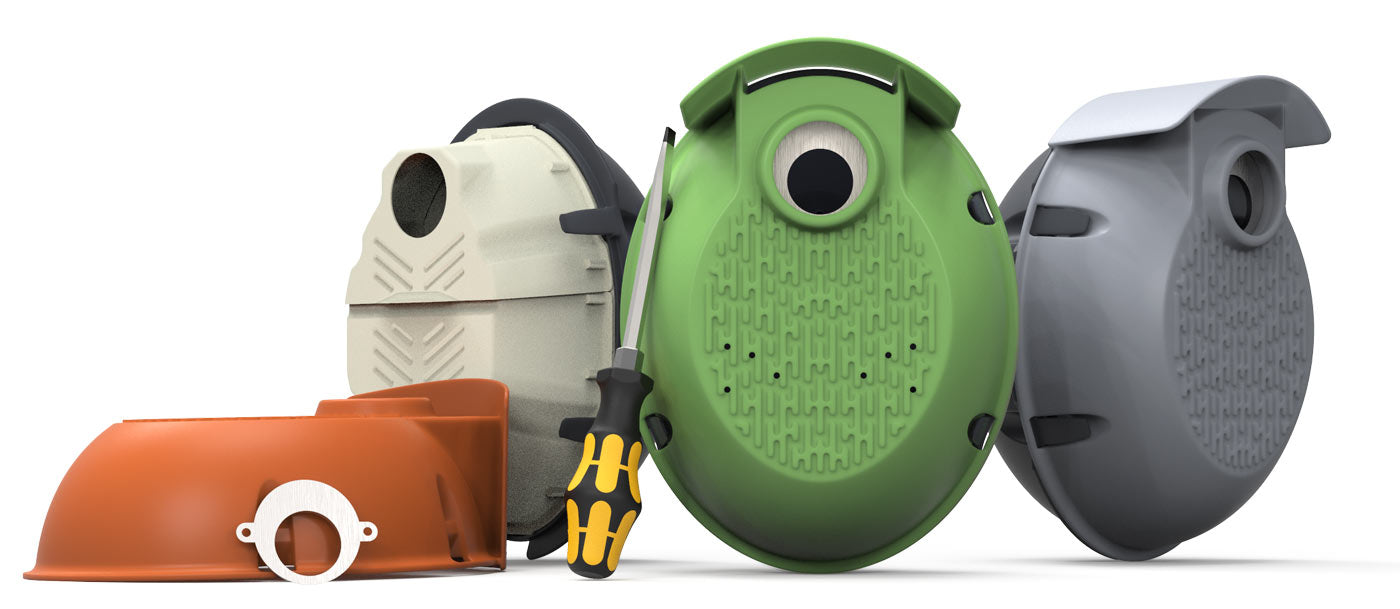
Step 4: Wall Mounting
-
Place the back (mounting) shell on a flat, vertical wood wall and secure it in place with a handheld screwdriver using the provided mounting screw.
IMPORTANT: If securing to a wall made of a material other than wood, be sure to use the appropriate mounting hardware for that specific material (not included).

-
Place the Nester Insert into the mounted Back Shell.
-
Align the Nester Shell with the fastening arms on the Back Shell and snap into place.

Your Nester pod is now ready for the birds!

Selecting the right spot for your Nester pod is incredibly important for both attracting birds to the Nester pod as well as ensuring that the birds that use it are safe and secure.
Please follow these guidelines when considering where to place your Nester pod.
1: Direction
In the UK and Europe, bird boxes should always face between north and east to avoid overheating from direct afternoon sun and exposure to strong westerly winds and rain. An easterly or north-easterly direction will catch the morning light, but keep the box sheltered from the hottest midday sun and the worst of the weather.

Avoid South-facing!
A south-facing bird box can get too hot and too dry, which is dangerous for developing chicks.
Avoid West-facing!
A west-facing bird box is exposed to prevailing winds and rain, which can make the inside of the box too wet and cold.
2: Height & Environment

A bird box should generally be installed between 2 and 5 meters (6.5 to 16 feet) off the ground to protect the birds using it from predators like cats. While this is the recommended range for most species, the ideal height can vary, so it's best to check the specific requirements for the bird species you want to attract. The height should also be low enough to allow you to access the box for inspection and maintenance (replacing the seasonal insert).
The ideal environment for a nesting box provides some nearby cover for birds to perch and observe, but also offers a clear path to the entrance of the nesting box. This is especially important in the spring when a freshly-hatched brood of chicks is demanding food from their parents. The parents need to be able to enter and exit the nesting box as quickly as possible to keep the food coming! A nearby perch allows the parents a brief resting spot, or a waiting spot while the other parent finishes feeding.
Taking excellent care of our native birds is easy with the Nester Pod. This simple calendar of care-giving guidelines will help you know when to check your Nester pod and keep it bird & nest ready!

Thank you again for choosing our biologist-designed Nester Pod!
As a special thank you, we'd like to give you a 40% OFF coupon* for our Nester Insert 4-pack. Just use the coupon code Insert40 at checkout to receive your discount.

Limit one use per customer.