Article: Getting Started with your Eggologic Pods
Getting Started with your Eggologic Pods
You've read plenty from the Eggologic team over the past few years, so we've asked our friend, UK-based garden expert and writer Tina Lawlor Mottram to journal her Eggologic story. In this insightful blog series, Tina walks us through her personal journey of using Eggologic pods and offers great tips on how to get the most out of your Eggo-garden as well.

The Beginning
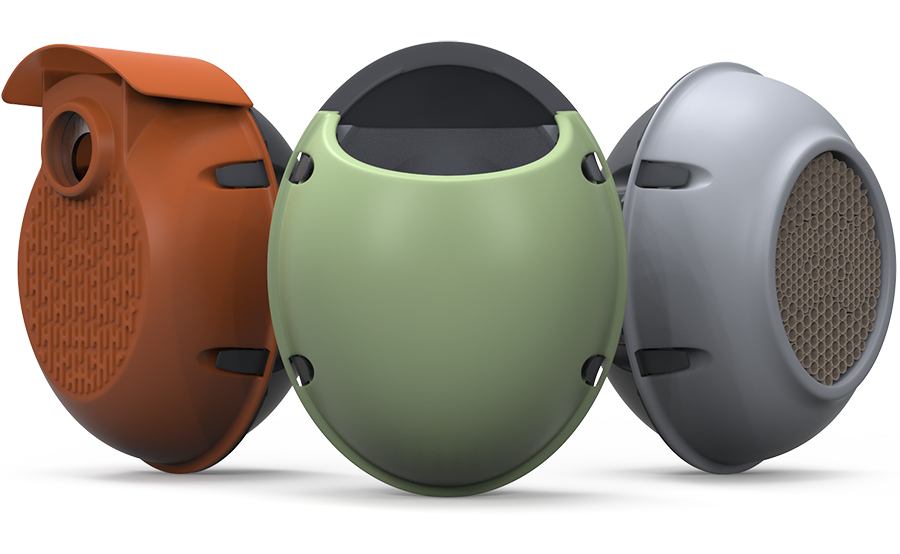
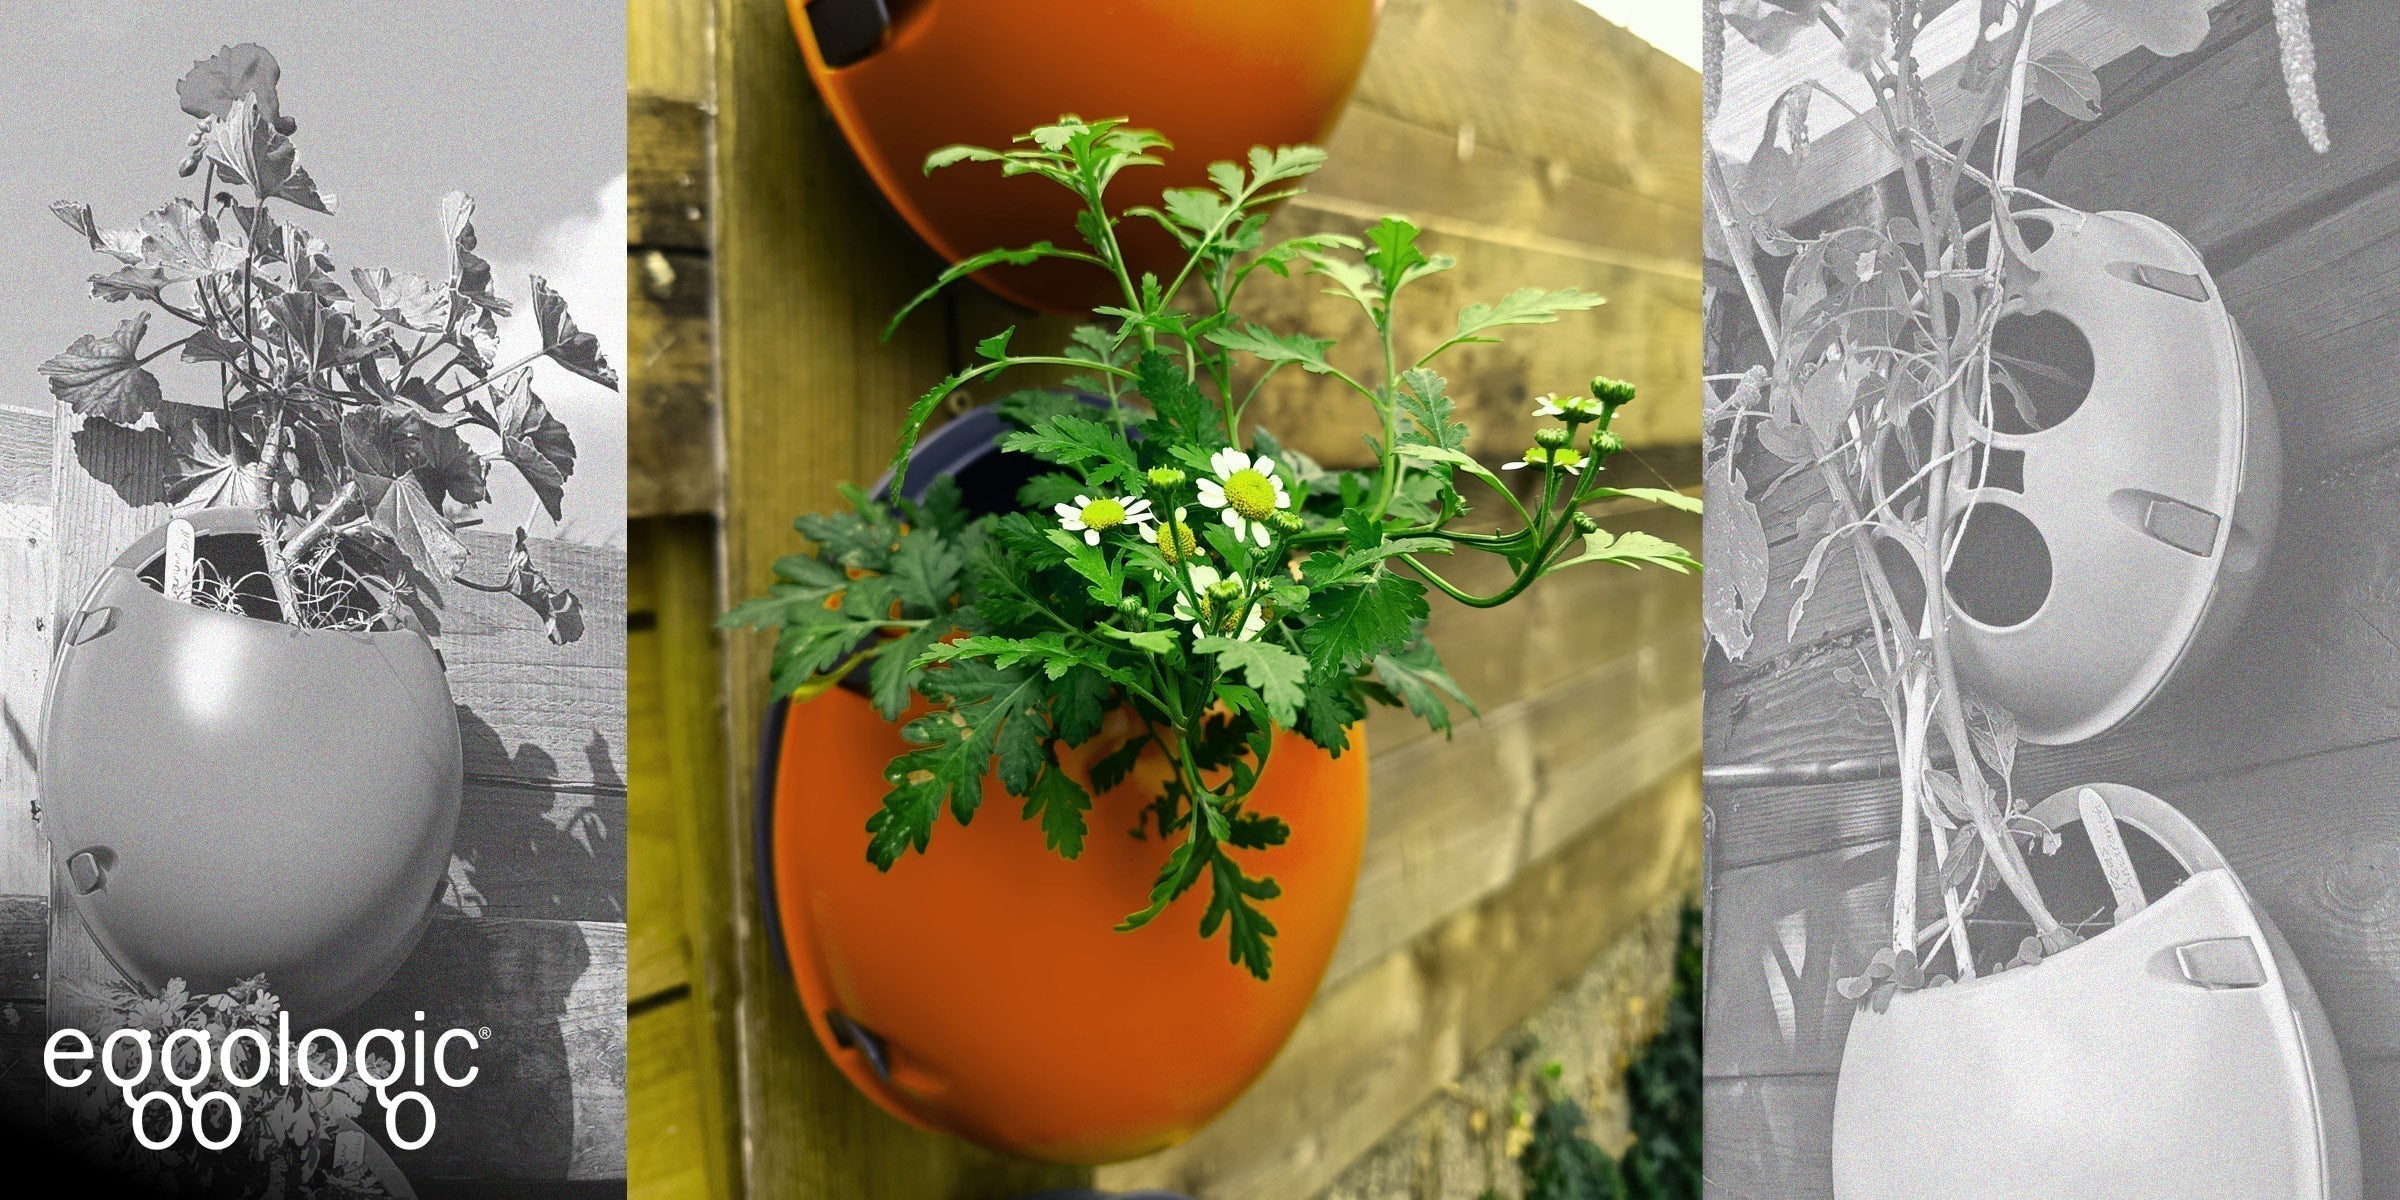
My set of Nester, Trellis and Planter Eggologic pods in various colours arrived in August of this year. Looking them over confirmed my suspicion that they are ideal for a small urban garden or for gardeners with limited space, like a patio or a balcony. I have a sunny fence and some shed space that seems just perfect for them. The attractive design of the planter pot is also highly functional - the removable insert is nicely concealed by the outer planter shell when everything is assembled on the wall. This double-layer design keeps roots warm to aid germination, but also provides some frost protection in cooler months. Watching the water drip vertically when placed in a pod tower makes this a great water-saving device. Younger gardeners will certainly enjoy watering duties!
Finding the perfect spot
Before rushing to choose a location for my pods, I spent some time observing my outdoor space. I advise going out into your garden, backyard, balcony, patio, or terrace to simply observe the light. If you’re a keen gardener, you already know that plants thrive in sunny spots, and you are probably aware where these are in your growing space. However, for newbies, be aware that the light will change throughout the day as the sun moves from east to west, so a sunny morning spot will not necessarily have sun the whole day. Most flowering plants adore sunshine, but don’t despair if you have very little because there are plants that adore shade too.
For most of my herbs, vegetables, and flowering plants, I choose a sunny spot. Generally, a sunny location works from spring to the first frosts, as many herbs are annuals that die in the autumn.
Take a few pics at different times throughout the day so that you can calculate where the sun rises, where it sets, and where plants will get most of the precious sunlight. Examine the pictures and compare where the sun is shining (if at all) and when. The sun rises in the east, and any pods facing that direction will catch the morning rays, but not the evening ones. And remember that in midsummer, the sun is higher in the sky, so an area that receives full sun all day may be too much for partial-sun or shade-loving plants.
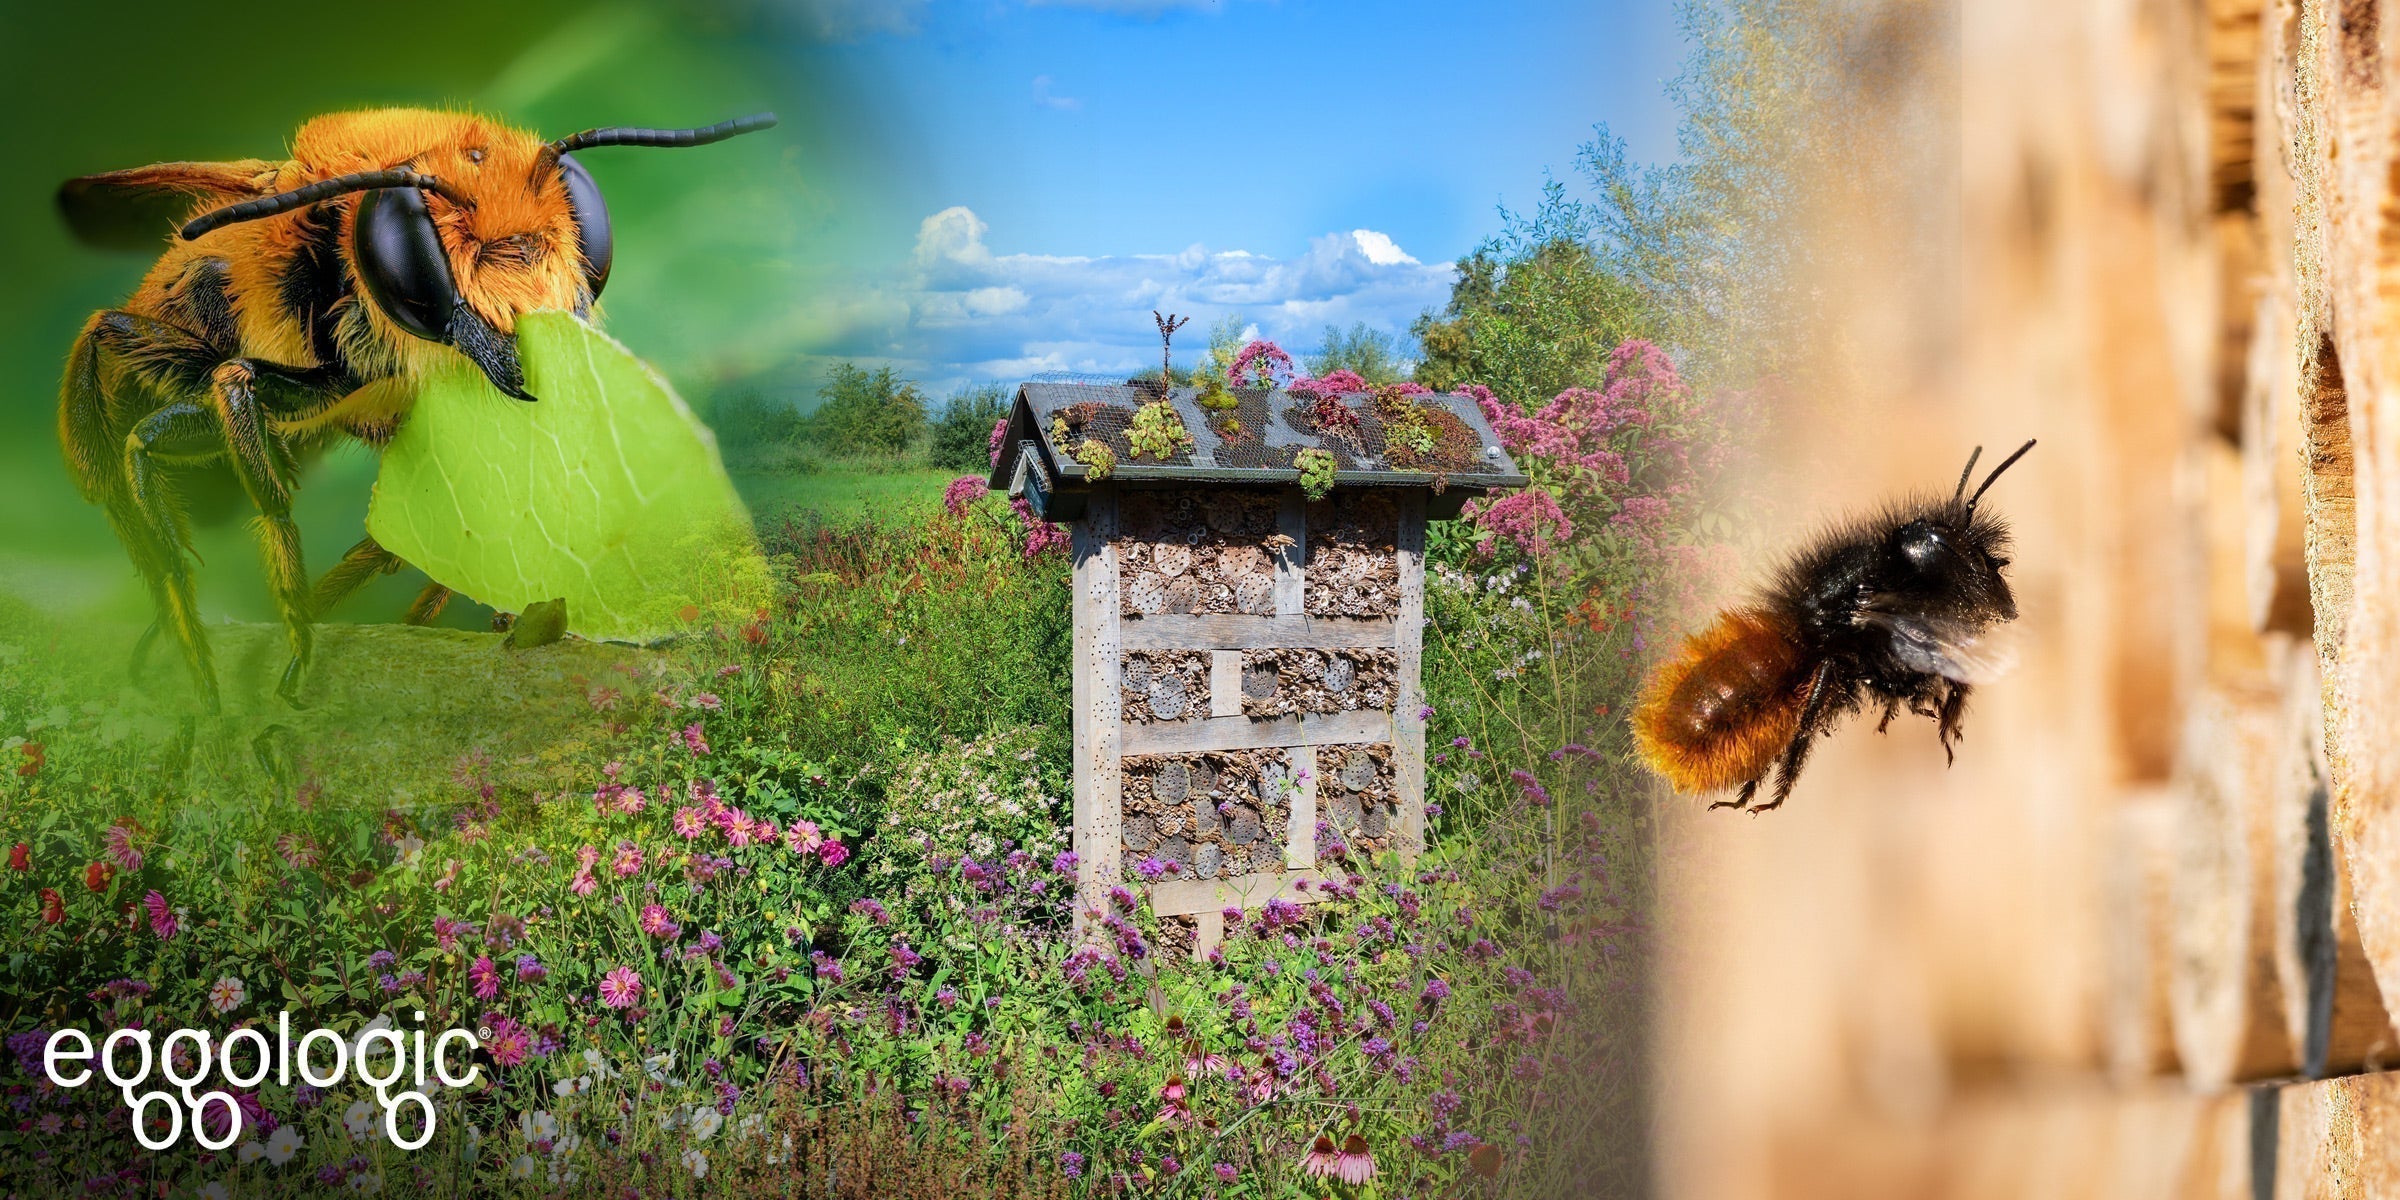
As you watch your outdoor space, you may notice the bird that visits the shrub next door or the butterflies passing by. Sneak a look at neighbouring gardens to see what is growing well and plants you admire. If there is a park nearby, examine carefully what is planted, what is doing well, and whether there are any plants you can take cuttings from. (But do be sure to ask permission first before you cut!)
My tips for the best location for your pods
- Remember that no matter which location you choose, your pods need to be firmly screwed into wood or a solid surface. They will get heavier when you fill them with soil, plants, seeds or bulbs, and of course watering makes them even heavier. So make sure you have a strong fence, a shed, a building in your garden (or even a pallet), a balcony shelf, or something you purpose-built for your pods.
- If placed vertically, remember that some of the water poured into the upper pod will drip into the ones below. If you are gardening on a patio or indoors and don't want to worry about dripping water, it is helpful to have a planter (or a container) at the base to catch any excess water, or consider building a space-saving tower garden. This way, one watering can feed several pods and a ground planter.
- Mounting the pods is easy-peasy with one screw into your chosen surface. I recommend marking the mounting holes with a pencil before starting to ensure that the pods are all in line.
- When mounting them vertically, a good rule of thumb is to space them at least 12 inches (30cm) apart to give growing plants room to grow. Placing a Trellis pod about this same distance above a planter pod also works well, and I've found that a few small bamboo sticks offer the perfect support to help new plants find their way to the trellis.
Once your pods are mounted on a wall, fence or a vertical system, think about when you like to be in your garden, and the plants you want to sow.
Deciding what to grow
When planting outdoors, think about the season and what is possible. There’s no point planting salad outside in November in the UK because the frost, rain and cold weather will probably not even allow your seeds to germinate. If you're new to gardening and need ideas and inspiration, take a walk around your neighbourhood and see what's thriving and in flower in other people’s gardens.
In spring, I usually start with hardy bulbs, or frost-hardy plants, because until the end of May, the weather in the UK may not smile on any early planting. If you are hoping to eat straight from your pods in spring, then a variety of herbs, salads, radishes, and peas are good options that can withstand cold conditions. You can also get a head start by planting your choices in the Planter pods' removable inserts and keeping them indoors (on a small plate in a window sill is perfect), then place them in their outdoor spot when the risk of frost has passed.
In summer, you can pretty much plant whatever you like, whether you want to grow delicious salad edibles, herbs, or sow pollinator-friendly wildflower meadows.
In autumn, remove bulbs that have flowered, then add a fresh layer of compost and plant radishes, hardy herbs, chives, and plants like geraniums or Feverfew, to enjoy some lovely green life until winter arrives. You can still enjoy dahlias and sedums, or plant bulbs for spring flowering like tulips, hyacinths and daffodils.
In winter, very little will be at its best apart from hardy flowers like cyclamen or maybe pansies. Almost everything else is asleep, but you can still plant spring bulbs like snowdrops or crocuses. Chives or garlic will survive cold months, but more delicate plants and seeds will need warmth to germinate, and this is best done indoors.
The great thing about these planter pods is that you have flexibility - you can plan (and plant) for one season only, or for a full year. If you plant bulbs for spring, then you can just change the soil and remove bulbs that have flowered to store and replant in the autumn.
My Pod Planting Tips
- Try to choose seed varieties suitable for container gardening. There are even varieties of small-pot cucumber, sweetcorn, and tomato that grow small but delicious vegetables.
- Salads can be heads of lettuce or varied leaves that can be picked several times and will continue to grow, provided your soil is fertile.
- To keep the pod soil healthy, see tips in my next article on how to rotate the crops in your pods to ensure maximum fertility, how to mulch, how to provide interest and variety for wildlife, and how to make your own compost to fill them with.
- Consider using evergreens as a background for your pods. Some perennial plants thrive throughout the winter – for example, forsythia blooms early in spring, jasmine flowers in December and ivy offers up its bright red berries. These will give your birds some shelter over the colder winter months. As a background to your pods, these chillier plants will keep your garden looking lively.
The perfect soil mix for your plants
The Eggologic website has some great tips and details about the recommended soil mix for your Planter pods.
Whatever plant you choose will also help to decide the best soil. If you plan on growing succulents, these don’t need a lot of nutrients, but a sandy soil mix with excellent drainage is essential. My advice - think about where your preferred plant grows in the wild, and imitate that environment.
If you are aiming to provide a wildflower meadow, you may be disappointed because you only have a tiny pod, but you can have early dandelions, bulbs, wallflowers, and forget-me-nots until you start growing food in the summer. Go see what is growing wild in fields in your area when you go outside. In the south, you can find fumitory, periwinkles, and Fat Hen.
In midsummer, try poppies, corn flowers, gladioli, sweet peas, and miniature roses taken from cuttings in your garden (or a nice neighbour’s).
Autumn favourites like Sedum, dahlias and primroses are ideal. Butterflies search out sedums in my garden, and they don’t need very rich soil or even very deep soil, so a pod is a perfect site. If you are growing vegetables, the flowers of cucumber, tomatoes and peas will bring in many flying insect visitors.
Late August, September, I planted geraniums for flowers and dill to eat, feverfew for flowers and medicine, with Mooli radishes, and a salad mix with flat-leaved parsley.
When the annual flowers die back, I will add miniature kale and hardy vegetables.
Coming Up
In my next journal entry, I'll talk about how to rotate the crops in your pods to ensure maximum fertility, how to mulch, how to provide interest and variety for wildlife, and how to make your own compost to fill them with. Until then, happy gardening!
Leave a comment
This site is protected by hCaptcha and the hCaptcha Privacy Policy and Terms of Service apply.