Mounting & Assembly Guide

Building your Eggologic™ vertical garden is easy. Just follow this step-by-step guide and you'll be enjoying your personal green space in no time.
Step 1: Remove Packaging
If your garden pod arrived assembled, first remove all packaging materials (100% recyclable) and dispose responsibly.
NOTE: A mounting screw for securing the pod to a wood surface is included on the packaging. Make sure to keep this for mounting.

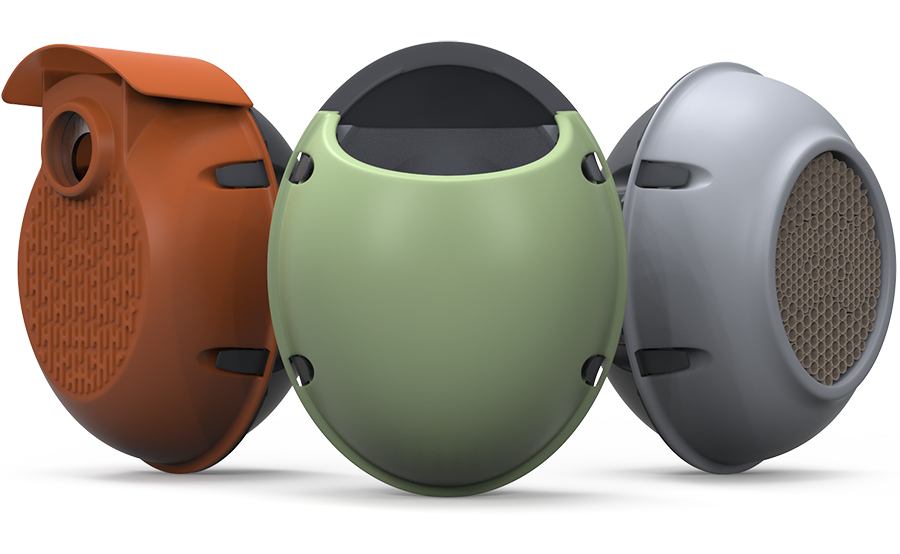
Step 2: Quick Disassembly
Before mounting and use, the face shell must first be removed. To do this, follow these two simple steps:

(A) Place your thumbs under the top two gray fastening tabs (as shown) and press gently outward to release the front shell.

(B) With your index fingers, push the front shell forward to separate from the back shell.

(C) Repeat this process for the lower two fastening tabs to fully release the front shell.

Step 3: Mounting
With the pod now disassembled, place the back (mounting) shell on a flat, vertical wood wall and secure it in place with a handheld screwdriver using the provided mounting screw.
IMPORTANT - Do not use a power screwdriver or power drill for securing the back shell. These tools provide too much force and can result in damage to the mounting feature. Always use a handheld screwdriver and tighten the screw until the mounting is firmly secured.
If securing the pod to a surface made of a material other than wood, please use the appropriate mounting hardware for that specific material (not included).

For placing multiple pods on the same wall or surface, repeat step 2 as needed. Need some inspiration for your wall pattern? Go to our Wall Pattern Guide.
Step 4: Assembly
All front shells in our pod collection are made to easily snap into place once the Back Shell has been mounted.
For the Trellis Pod:
To secure the front shell, align the four (4) fastener openings on the front shell with the gray fastening arms on the mounting shell, gently slide them through, and then press firmly to snap the fasteners into position.

For the Planter Pod:
A) add soil mix and desired seed(s) or plant(s) to the included Planter Insert
Click Here to see our recommended soil matrix ingredients and mixture
B) slide the Planter Insert into the mounted Back Shell
C) align the front Planter Shell with the fastening arms and snap into place

